- 24 Hour Emergency Services
- Servicing Sydney's North Shore
- View On Map

-
Mail Us On
info@lsblocksmiths.com.au
-
Make a Call
0411 700 072
- View On Map
- 24 Hour Emergency Services
- Servicing Sydney's North Shore
- View On Map
-
Mail Us On
info@lsblocksmiths.com.au
-
Make a Call
0411 700 072
- Contact Us
Door Seal Replacement Hornsby NSW: A Practical Guide

Lock, Stock & Barrel Locksmiths
On July 20, 2026
A lot of North Shore homes have the same quiet problem. The front or back door looks fine, the lock works, and nothing seems urgent, but there's a cold draught at ankle height, a rattle on windy nights, or a strip of light under the door that shouldn't be there. In older homes around Hornsby, that usually points to one thing. The seal has hardened, shrunk, peeled off, or was never the right type in the first place.
That's where a proper door seal replacement makes a real difference. On modern aluminium doors, the fix can be straightforward. On older timber doors, especially the sort found across the Upper North Shore, the right answer often has less to do with buying a packet off the shelf and more to do with matching the seal to the door, the threshold, and the way the frame has moved over time.
That Annoying Draught Is Costing You Money
A common callout in Hornsby starts with a complaint about comfort, not hardware. The lounge room feels fine until the wind picks up. The hallway is colder than the rest of the house. The heating runs longer than expected. Then someone notices the bottom of the door chattering against the frame, or a brittle old sweep hanging on by one screw.
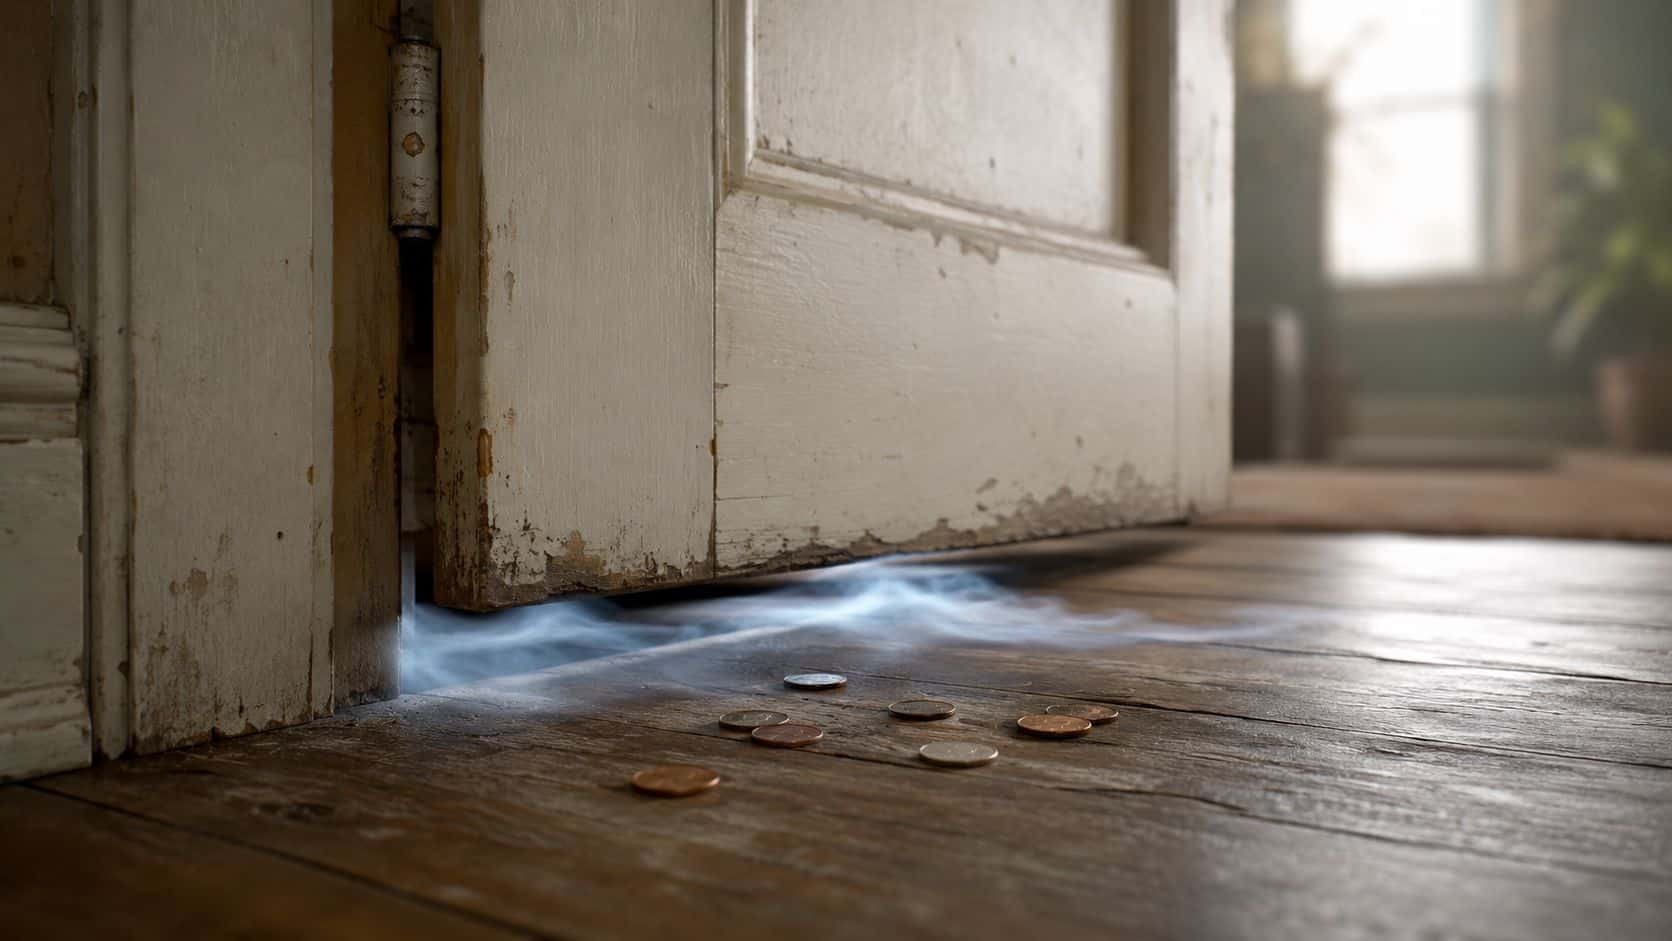
The significance of that small gap is often underestimated. According to CSIRO's testing of leakiness in Australian homes, the average new home in Australia shows 6.9 m³/hr/m²@50Pa air permeability, with leakage found in most newly built properties. If new homes are leaking, older North Shore homes with tired joinery and worn seals usually need even closer attention.
Why the problem gets missed
Door seals wear out gradually. There's no dramatic failure point in most cases. The rubber goes stiff, the adhesive lets go, the brush flattens, or the door settles and opens a new gap on the latch side.
People often chase the wrong fix first:
- Turning up the heater instead of stopping the draught
- Replacing the lock when the underlying issue is a poor perimeter seal
- Buying a generic stick-on strip that doesn't suit the door profile
- Ignoring the threshold even though the biggest air leak is at the bottom
Practical rule: If a door rattles in wind, shows light at the edges, or feels colder around the frame than the wall beside it, the seal deserves inspection before anything else.
For households looking at simple ways to tighten up the home, practical ways to reduce a monthly electricity bill often start with basic leakage points like doors and windows. A worn seal is one of the simpler jobs that can improve comfort without changing the whole door.
What a good seal actually does
A proper seal helps with more than just cold air. It can also reduce dust movement, soften outside noise at the edges, and stop that loose, rattly feel that older doors develop in winter. The main point is control. A door should close against a seal evenly, without a visible gap and without needing to be slammed.
That sounds basic, but getting there depends on choosing the right seal, not just any seal.
Choosing the Right Door Seal for Your Home
The hardware aisle can be confusing because several products look similar but solve different problems. A foam strip for a painted internal door isn't the same thing as a perimeter seal for an external timber door. A brush sweep might suit one threshold and fail badly on another.
On Sydney's North Shore, the biggest mistake usually happens on older timber doors. As EcoMaster notes for older Australian timber doors, a standard brush or sweep often fails where the doorstep is uneven or the area is windy. In those situations, an automatic bottom door excluder or a custom treadplate is often the better answer.
Door Seal Type Comparison
| Seal Type | Best For | Installation Difficulty | Notes |
|---|---|---|---|
| Adhesive foam strip | Small, even gaps on internal or lightly used doors | Easy | Cheap and quick, but usually not the best long-term fix on external timber doors |
| Adhesive rubber weatherstrip | Top and sides where the frame is reasonably straight | Easy to moderate | Works better than foam when the surface is clean and the gap is consistent |
| Push-in groove seal | uPVC or doors with a designed seal channel | Moderate | Needs the correct profile and careful fitting into the groove |
| Screw-on perimeter seal | External doors needing a more secure fixing | Moderate | More forgiving than adhesive in damp or high-use areas |
| Brush sweep | Light dust control on flat, even thresholds | Easy | Often a poor choice for uneven sills or windy exposures |
| Rubber door bottom | Bottom edge where a compressing seal is needed | Moderate | Needs careful positioning so it seals without dragging |
| Automatic bottom door excluder | Older timber doors, uneven floors, higher-performance sealing | Moderate to advanced | Strong option when a basic sweep leaves gaps at one end |
| Treadplate with matched seal | Uneven thresholds, heritage-style doors, exposed entries | Advanced | Often needed when the doorstep itself is the problem |
Matching the seal to the actual fault
The right question isn't “Which seal is best?” It's “Where is the gap, and why is it there?”
If the gap is on the top and hinge side, a perimeter weatherstrip may solve it. If the gap is under the door and the floor dips in the middle, a cheap brush from a big-box shelf usually won't sit tight all the way across. One end drags, the other leaks.
A sensible way to choose is this:
- For top and side leaks: look at a perimeter seal that compresses evenly when the door closes
- For bottom gaps on a flat sill: a quality door bottom or sweep can work
- For older timber doors with an uneven threshold: an automatic bottom door excluder is often the cleaner fix
- For exposed entries with water risk: the threshold detail matters as much as the seal itself
A standard Bunnings-style seal can be fine on the right door. It's the wrong product on the wrong door that causes most disappointment.
Why profile matters
With grooved seals, shower seals, and some weatherstripping, shape matters as much as size. If the profile is wrong, the seal may fit loosely, bunch up, or fail to compress. That's why measuring the old seal, the groove, and the actual gap is worth the time before buying anything.
Older North Shore homes also tend to have painted edges, timber movement, and thresholds that aren't perfectly true anymore. That's where “universal” products stop being universal.
Tools and Prep Work Before You Start
Good prep is the difference between a neat job and one that peels, twists, or wears out early. The fitting part is usually quick. The measuring, cleaning, and checking take longer, and that's exactly how it should be.
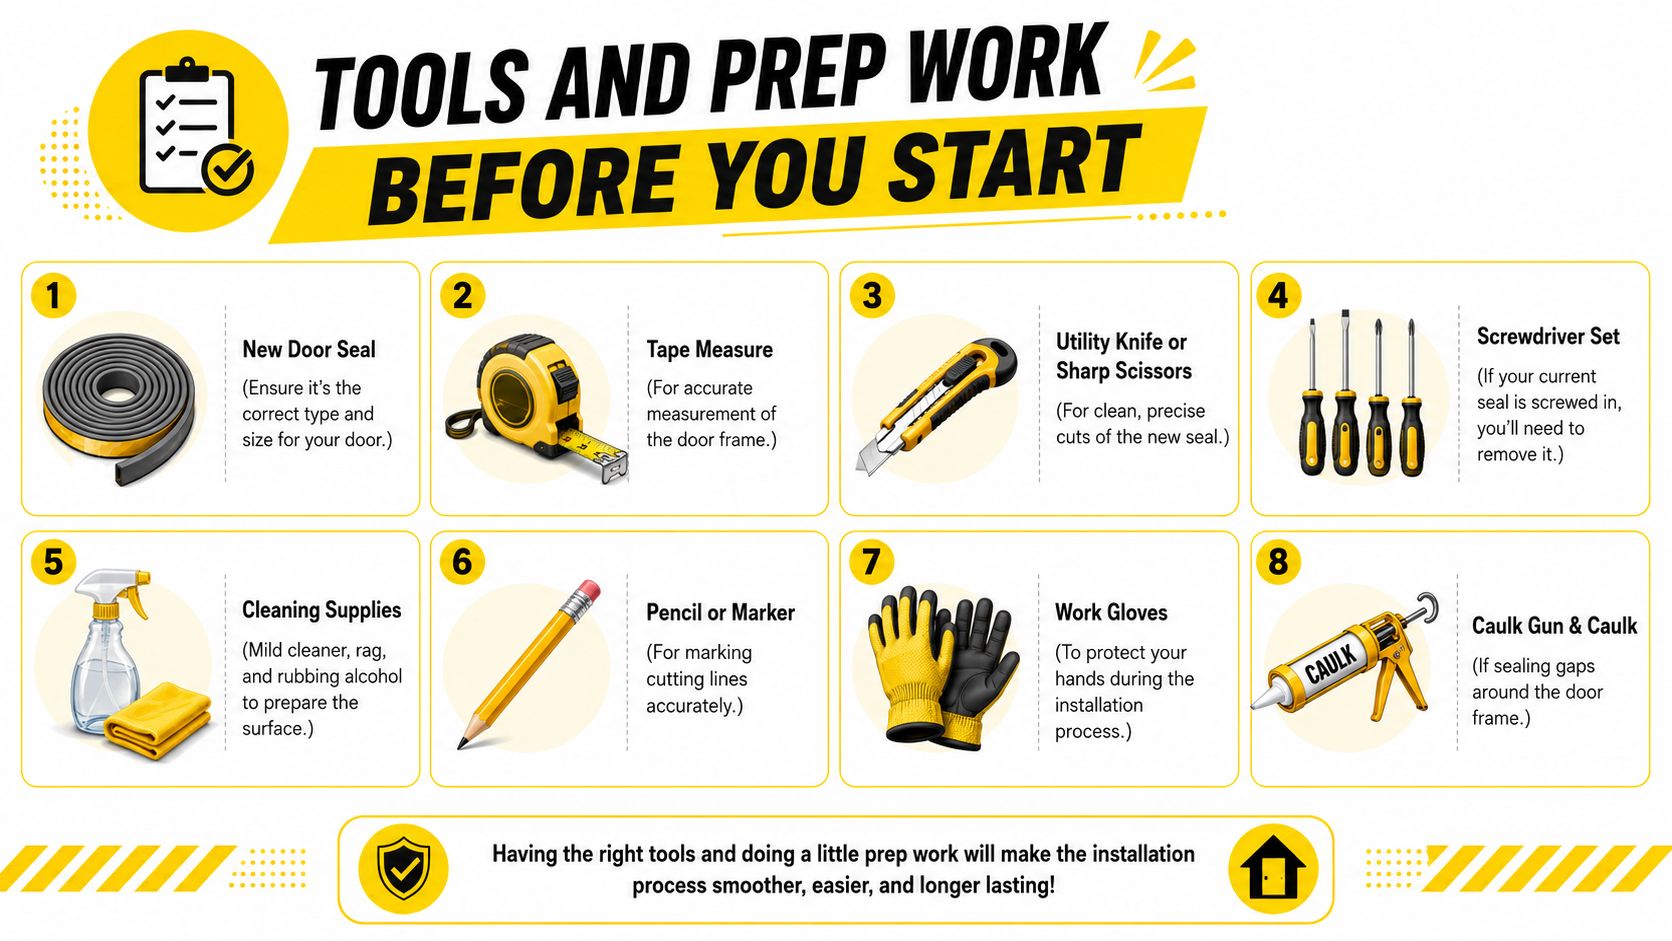
What to have on hand
Most DIY door seal replacement jobs don't need specialised gear, but the basics matter.
- New door seal: matched to the door type, gap, and fixing method
- Tape measure: for the frame, groove, and threshold gap
- Utility knife or sharp scissors: for a clean trim
- Screwdriver set: needed for screw-fixed sweeps and some retainers
- Cleaning supplies: rag, mild cleaner, and methylated spirits
- Pencil or marker: for cut marks and alignment
- Work gloves: useful when removing old brittle material
- Caulk gun and sealant: only where frame gaps or threshold detailing need attention
For anyone putting together a basic DIY kit, this chain lock installation tool checklist covers many of the same hand tools used for small door hardware jobs.
Measure before removing anything
On grooved seals and older doors, it's smart to record dimensions before the old seal goes in the bin. That means:
- Measure the length of each run.
- Check the groove width and depth if the seal pushes into a channel.
- Measure the gap size with the door closed where possible.
- Look at the threshold shape, not just the bottom edge of the door.
A lot of DIY frustration starts when someone buys by eye, removes the old seal, and then realises the replacement is too fat, too thin, or the wrong profile entirely.
Surface prep is not optional
Old adhesive is one of the biggest causes of repeat failure. If a seal is going onto paint, timber, aluminium, or uPVC, the fixing surface needs to be clean, dry, and smooth enough to bond properly.
That means removing:
- Old glue residue
- Dust and grit
- Mould spotting
- Loose paint flakes
- Moisture on the frame
A fresh seal stuck over old muck usually looks fine on day one and starts lifting soon after.
If the frame is rough, swollen, or flaking badly, adhesive may not be the best fixing method at all. In that case, a screw-fixed product often gives a more dependable result.
A Step-by-Step Guide to a Professional Fit
The install changes a bit depending on the seal type, but the same rule applies to all of them. The seal has to sit straight, compress properly, and let the door close without forcing it.
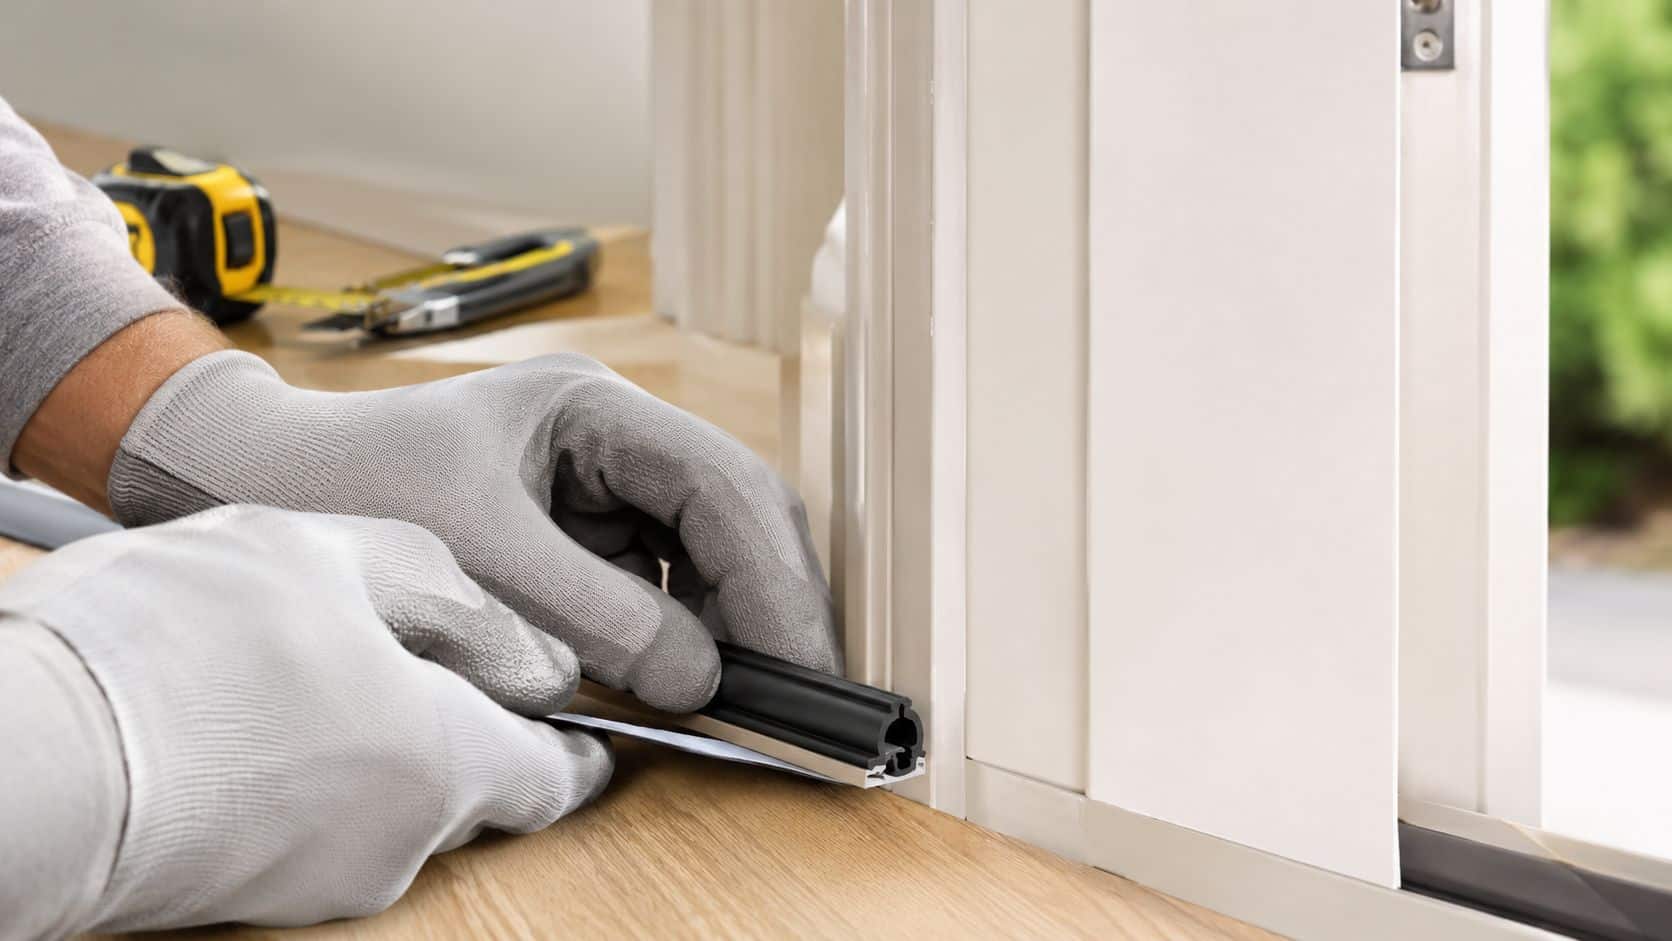
As covered in this Australian guide to replacing door seals, 60% of DIY failures come back to inadequate surface preparation, and moisture or contaminants can reduce adhesion by up to 40%. The same guidance stresses cleaning with methylated spirits, feeding grooved seals in tautly, and folding them neatly through 90-degree corners.
Fitting an adhesive perimeter seal
Adhesive seals work best when the frame is straight and the contact line is clear. They're usually fitted on the top and sides rather than under the door.
A solid sequence looks like this:
- Dry-fit first. Hold the seal in place without removing the backing. Check where it will touch the door.
- Start at the top. That gives a clean visual line and makes it easier to balance the side runs.
- Peel backing in short sections. Don't strip the whole length at once.
- Press evenly. Keep the seal straight and don't stretch it.
- Trim only at the end. Cutting too early can leave a short corner.
The common mistake is placing the seal where it looks neat instead of where the door closes against it. If it's too far in, the door won't engage it. Too far out, and the door becomes hard to latch.
Feeding a seal into a groove
This is common on uPVC and some modern door systems. It looks simple but can go wrong quickly if the seal is shoved in loosely.
Use this approach:
- Pull the seal through with light, steady tension
- Keep the bulb or profile facing the correct direction
- At corners, fold cleanly at 90 degrees
- Don't cut the excess until the full run is in place
If the installer lets the material bunch up as it goes in, it often shrinks back or ripples later. If it's overstretched, the corners can pull open after a period of use.
The neatest installs don't rely on force. They rely on alignment and patience.
Installing a screw-on bottom seal
A screw-fixed door bottom suits a lot of older external doors because it's secure and adjustable. It also avoids the bonding problems that come with damp timber or coastal humidity.
The process is straightforward:
- Remove the old sweep or bottom strip
- Clean the bottom edge of the door
- Cut the new seal or carrier to length
- Offer it up and mark the fixing points
- Pre-drill if needed
- Fasten it so the rubber just meets the threshold without excessive drag
The key is position. Too high, and it leaks. Too low, and the seal scuffs, folds, or makes the door hard to open.
Handling older timber doors
Many DIY jobs stall at this point. Older timber doors around Hornsby and the North Shore often have one or more of these issues:
- The threshold isn't level
- The bottom edge of the door isn't perfectly square anymore
- Paint buildup affects clearances
- The latch side gap is different from the hinge side gap
In those cases, fitting a standard sweep because it's easy rarely gives a proper result. Sometimes the better fix is to correct the threshold detail first, then fit the seal that suits the new closing line.
Don't overtighten and distort the seal
Even on simple screw-fixed products, more pressure doesn't mean a better seal. If the rubber profile is crushed out of shape, gaps can open where they weren't visible at first. The seal should sit firm, even, and natural when the door closes.
A good result looks boring. Straight line. Even contact. No dragging. No visible daylight.
Testing Your Work and Long-Term Maintenance
A fresh seal isn't automatically a successful seal. It has to be checked. Plenty of DIY installs look tidy and still leak at the top corner, latch side, or threshold because the door closes differently than expected.
According to Home Hardware's guide to replacing your door seal, unverified DIY replacements show only 55% efficacy, while using a torch test to confirm zero light penetration lifts success rates to 85 to 90%. The same guide notes that properly replaced seals can reduce heat loss by 15 to 20% in Sydney's North Shore homes.
The torch test
This is one of the easiest checks and one of the most useful.
- Wait until it's dark enough to see a light leak clearly.
- Darken the room inside.
- Shine a torch from outside around the edges of the closed door.
- Look from inside for any visible lines or pinpoints of light.
If light gets through, air usually does too.
This test is especially handy on older timber doors where the gap changes from one point to another. A seal can look compressed in one area and miss the frame entirely a few centimetres away.
Zero visible light is the benchmark. “Almost sealed” usually still feels like a draught in winter.
If the door is hard to close
That usually means one of three things:
- The seal is too thick for the available clearance
- The seal has been installed too far proud of the frame
- The bottom seal is riding too low on the threshold
Don't force the latch to do the work. That just creates a new problem with hardware wear and poor alignment. Reposition the seal or change to a more suitable profile.
If there's still a draught
When the new seal is in place and the problem remains, check the basics:
- Corners: these are often the first place a gap hides
- Latch side compression: the door may not be pulling in evenly
- Threshold shape: bottom seals can't fix a badly uneven sill on their own
- Frame movement: older homes can shift enough to open a gap seasonally
If adhesive-backed material is starting to peel, the issue is often the surface, the humidity, or the wrong fixing choice for the door. In damp, coastal, or high-use spots, a clip-on or screw-fixed option usually lasts better than relying on adhesive alone.
Keeping the seal in good shape
Maintenance is simple:
- Wipe seals clean so grit doesn't abrade them
- Check for hardening or cracking as seasons change
- Inspect corners and joins where movement shows first
- Recheck after heavy rain or humid periods if the door is exposed
A seal is a service item. It doesn't need constant attention, but it does need the occasional look before minor wear turns back into a full gap.
When to Call a Master Locksmith for Your Door Seals
Some door seal replacement jobs are perfectly manageable. A straight frame, a simple perimeter strip, and a clean fixing surface are all DIY-friendly. Others need more than a new seal.
Professional help makes sense when the door is warped, the frame is out of square, the threshold is badly uneven, or the entry door needs a more specialised bottom sealing system. Those are common conditions in older Hornsby homes, and they're the reason some repeat DIY attempts never quite solve the problem.
There's also a compliance issue that matters in units and strata buildings. If the door is a fire door, the wrong seal or a poor installation can create a serious problem. That's not a place for guesswork.
For strata owners and managers, other opening hardware can also have compliance requirements. For example, NSW window safety device rules in strata apply only when a window meets all three thresholds at once: the opening is more than 2 metres above the external surface, less than 1.7 metres above the internal floor, and can open wider than 12.5 centimetres. Door hardware and window hardware both show the same point. Compliance work needs the right product in the right place.
For local service coverage, Hornsby locksmith support across the service area is the practical option when the job has moved past a simple seal swap and into door adjustment, specialist hardware, or regulated door sets.
If a door in Hornsby or the North Shore is rattling, leaking air, or needs a seal that suits an older timber frame, Lock, Stock & Barrel Locksmiths can help. Call to discuss the job or send through a quote request for practical advice and the right fix.